DIY Textured Art

Read below to learn how to create your own textured art or scroll to the bottom for a video tutorial!
If you’ve ever been interested in purchasing modern art for your home, you may have looked into buying a piece, but were quickly turned off by the prices. Brand new, large canvas art pieces from home decor stores will cost you hundreds, if not thousands of dollars. Spending that much on one piece of art just isn’t in a lot of people’s budgets. So maybe your next thought was, how much would it cost me to try to make something myself? From there, you might have looked into how much a large canvas costs and were yet again shocked by the sticker price. Or maybe you didn’t even make it that far because you felt like you wouldn’t know how to begin creating a modern art piece on your own. Well, after some trial and error on my own part, I found an easy method to create modern art that’s affordable and easy for anyone to create!
The first step to creating your very own textured art piece is to stock up on the supplies. You’ll need a canvas, spackling paste, a putty knife, spray paint, acrylic paint, and a paintbrush. The most important factor in making this project affordable, is finding a large cheap canvas to work on. The cheapest method I have come across, so far, is finding one second-hand. That means searching Facebook Marketplace for a cheap one, or your local thrift store. You likely won’t find one blank, but that doesn’t really matter when you’re going to cover the whole canvas anyway. Now that you have your supplies, let’s split this project up into four easy steps.

Here is a $9 large framed canvas that I picked up at my local thrift store! From afar, it looks as though it could be a textured piece, but it is just a mass-produced print.
All the supplies you will need for the project are linked on my Amazon storefront!
Step One: Texture
Whip out your spackling paste, dip in your putty knife, and start covering your canvas in paste. Change up the direction and layer it on to create extra texture and movement. The method I like to use is covering the canvas (almost) entirely with up and down strokes, then going back in afterward with a few side to side strokes. Whatever way you apply the paste will make your art unique to you. Once you are satisfied with your textured canvas wait for it to completely dry before moving on to the next step. I usually wait until the next day before painting.
Here is how my canvas looked after applying the spackling paste.
Step Two: Spray Paint
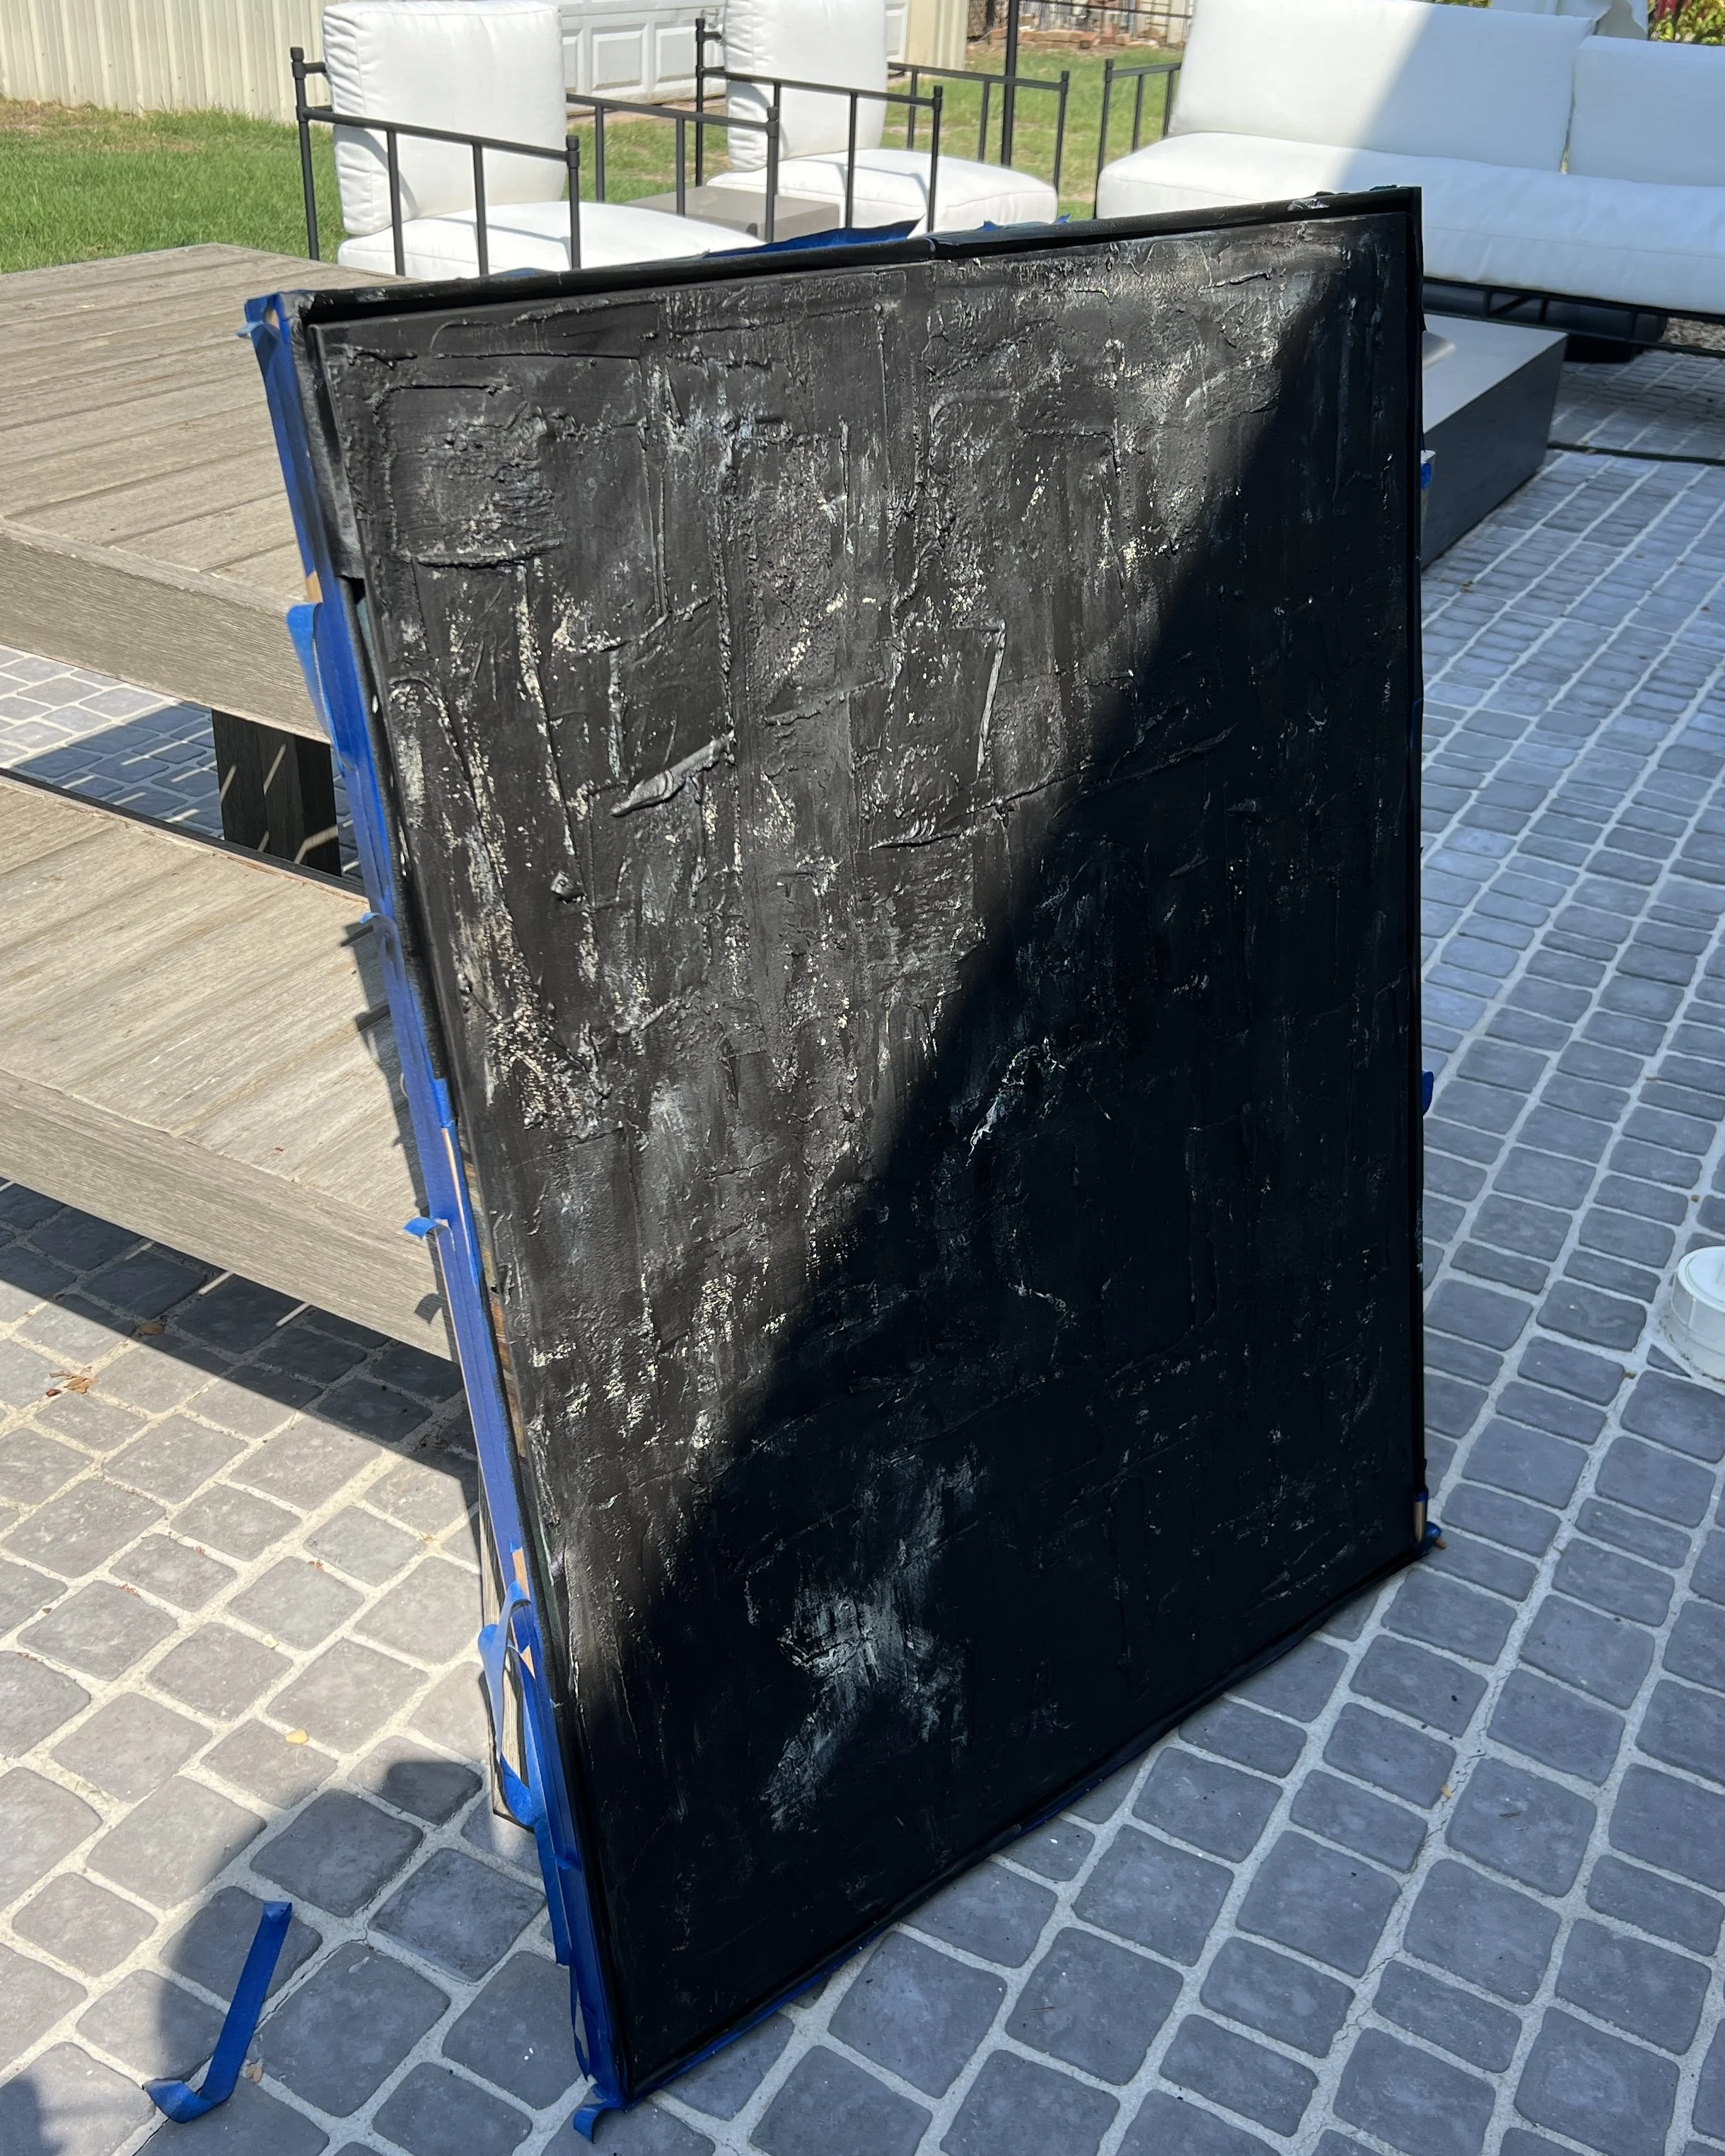
If your canvas came with a frame it is important to apply painter’s tape on the frame to protect it from this next step. If you have a tarp or even some old cardboard boxes, it’s time to bring those out. Set up your area so that you won’t get your paint on anything except for your canvas. If you have any gloves I recommend putting those on as well, otherwise just throw a plastic sandwich bag over your hand like me so that you don’t get spray paint on your hand. Once you have your area and canvas prepped, just spray your entire canvas in whatever color you choose. Go ahead and make sure to use your entire can of spray paint and make sure to really get into all the little grooves of the texture. Once complete, it’s best to wait until the next day for your canvas to completely dry before moving on to step three.

Here is how my canvas looked as it dried in the sun after applying a whole can of black matte spray paint.
Step Three: Paint
This part is very important if you are wanting to add dimension to your painting, especially if you just covered your canvas in black. After this step, when you hang the painting in your home, you will be able to see the layers, texture, and depth in your piece. If you call it quits before this step, you won’t really be able to see the texture in your painting and it will look like a solid black canvas unless standing up close to it. I like to layer on a light coat of beige acrylic paint in various directions all over the canvas. Sometimes I’ll throw in a little pattern like an “X” or splatter some of the paint on for a different type of texture. I also add a little brown on the canvas as well. After the canvas is covered in acrylic paint, but the spray paint is still coming through from underneath, let that second layer dry for a couple of hours. Once dry, go back over the painting with a thin layer of acrylic paint that matches the first layer’s color. This will bring your canvas back to the original color you want it to be, but it will better showcase the texture you created through the layers. Now wait just a few more hours to let that dry completely.

Here is how my canvas looked after the first layer of acrylic paint was applied. This was the step that made it look (admittedly) uglier before the design came to fruition.
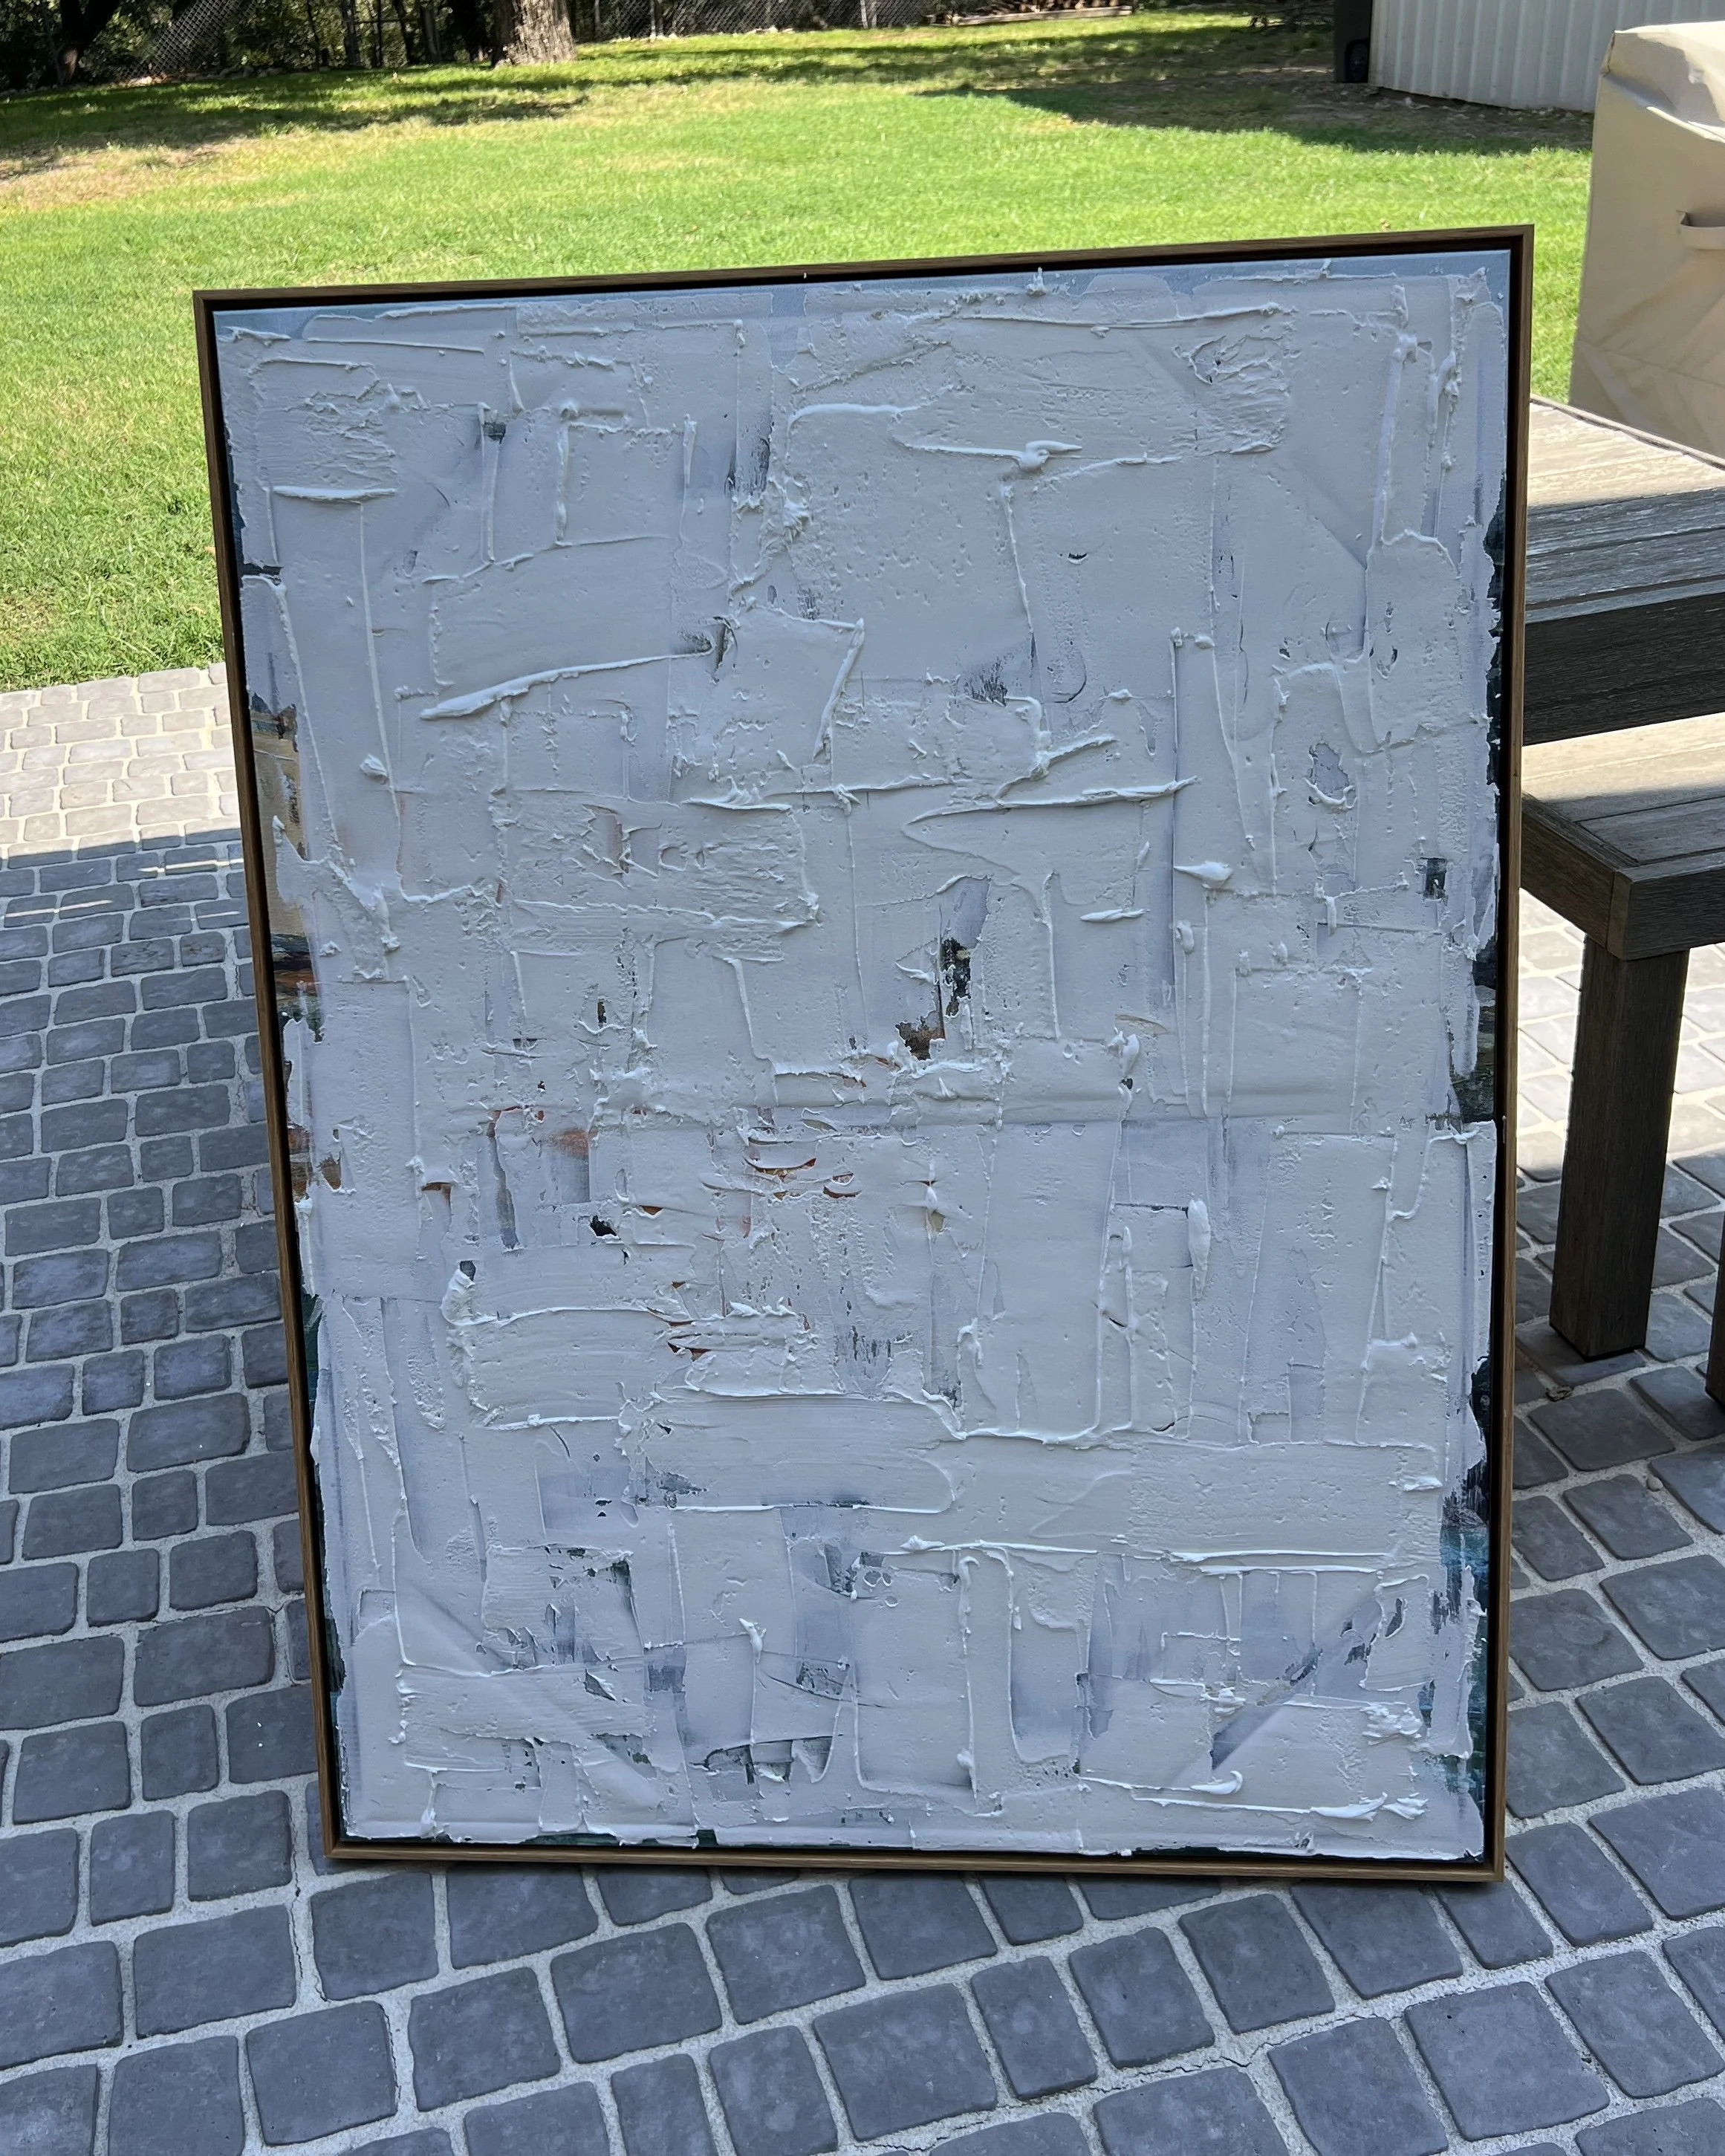
Here is the piece as it dried after the second layer of acrylic paint was applied.
Step Four: Touch Ups
You’re pretty much done at this point! Once the paint dries you can either call it quits or give it a good inspection to determine if there’s any extra elements you might want to add. If you have a frame around your canvas, now is the time to take the tape off and see how it looks as a whole! I usually like to go over any spots that I may have missed with more black paint. You can add any extra colors, add more paste, or whatever new medium you like. But at this point, it’s pretty much complete! Now all you have to do now is find the perfect spot to hang your new art piece!
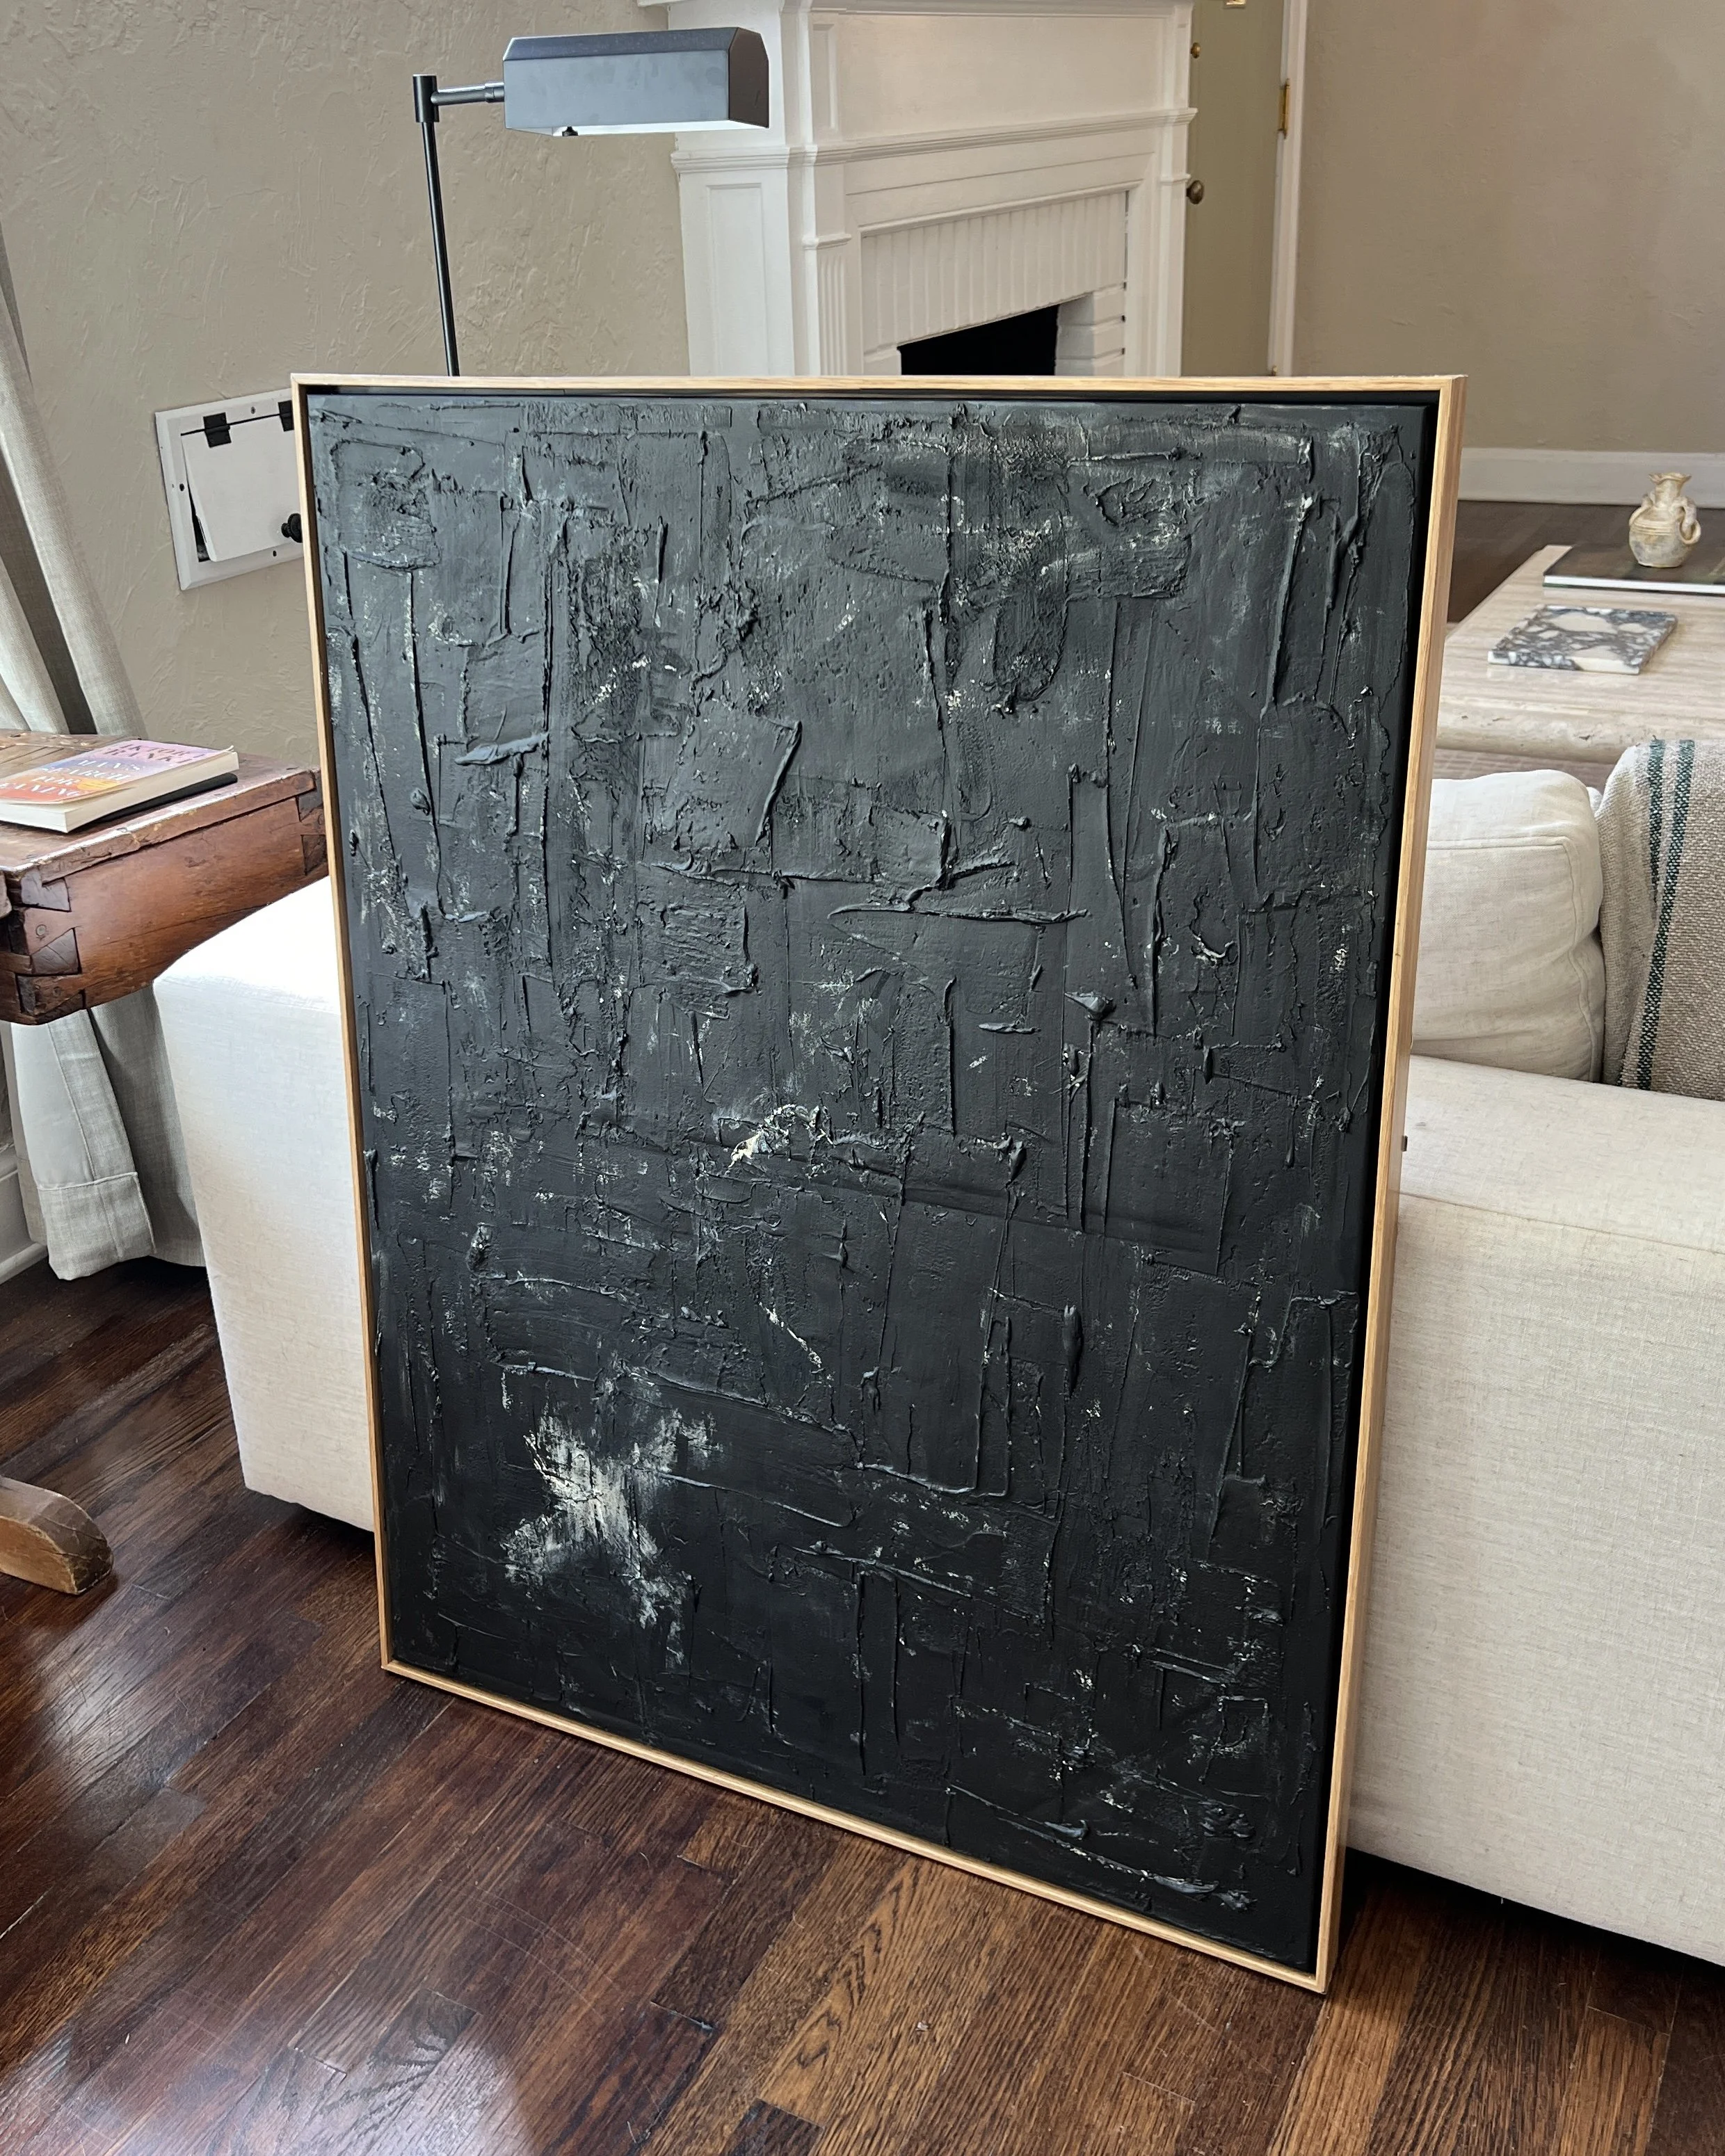
The final results! I am really happy with how this piece came out in the end. The frame really helped make the piece look more professional. If you can come across a canvas already framed, or you know how to create a frame yourself, I highly recommend adding one!